Two of our resident writers and photographer geeks Chris (@mr.c.mojo) and Gigi (@timetotalk_watches) talk all things Lume Shot

Chris – So, Gigi, I think it is fair to say that we are both fans of a good lume shot! For me personally, my toolbox of methods and techniques has evolved over time and I finally feel like I am in a position to share some of my experiences from the last few years of research and trial and error. How did you first get into taking lume shots and would you say you’ve been on a similar journey of discovery?
Gigi – Since childhood, I have been interested in photography and watches. Recently when my watch collecting “habit” started to become serious my focus naturally moved to watch photography in all its forms and with all its ups and downs. Lume shots, as a part of watch photography, have always fascinated me. Like you, through trial and error and calling upon my life experience as an amateur photographer (especially stage photography), I strive to get that perfect and interesting lume shot.

Chris – For me, as with many watch photography things, it started with Instagram. It was quite early in my Instagram journey when I came across people like the @illumenauts posting amazing lume shots. I really liked the look of the lume shots and I knew that some of my watches had decent lume so I thought I would give it a go and take some shots of my own. It turns out that it’s harder than you would think to create a good lume shot. My first attempts were not great. Initially, I was trying to put my watch near a lamp to charge the lume and then I was moving it to where I wanted to take the photo, I would then compose the photo using my phone and take the shot. This often resulted in a blurry, dark lume shot and I would have to repeat this method a number of times before getting anything even remotely acceptable. Did you have a similar experience with your early lume shots?


Gigi – Instagram and Youtube were both a big source of inspiration for me as well though I didn’t use my phone to take the shots. I started with my mirrorless camera on a tripod, with a fast prime lens using full manual exposure and focus. The problem was getting the right balance of settings to show both the lume and the features of the watch. The first shots were not so good: not terrible but not what I had envisioned. I have since gained enough experience that allows me to get the shot I have pictured in my “mind’s eye”.
Chris – Yes, I then moved on to using the torch on my phone and quickly changing to the camera on my phone so that I didn’t have to move and set up the shot from scratch every time. It was around this time that I found out that you could fix the focus on your iPhone if you press and hold on the thing you want it to focus on and that if you swipe up or down you can adjust the brightness/exposure. This certainly helped to improve my photos in general and added to my arsenal of tools for lume shots but I still wasn’t able to achieve the kind of results that other people seemed to be able to achieve. I did some research online and I realised I had been missing a trick – a UV torch – it was a game-changer. A UV torch essentially turbocharges the lume for a few seconds. Combine this with a fixed focus and some clever composition and I was finally starting to achieve decent lume shots. When did you first discover UV torches Gigi?
Gigi – At a RedBar meeting this summer in London. David “@floatlite” Sharp had one on hand and I was amazed at how it made the lume portions of the dial “pop” . I immediately bought one and since then lume photography has never been the same. Ordinary white light from LED’s just doesn’t cut it anymore.

Chris – Another element that started to click for me was the lighting. I realised that if I had the main source of light behind me so that I was between the light and the watch creating a shadow on the dial with my body or phone whilst the light still illuminated the background I could take lume shots that were not overly dark in terms of the overall shot. A similar method is using a light to the side and creating a shadow on the dial using, well anything to hand if I’m honest, an iPad, a magazine, a placemat, anything that’s the right size. The trick is to keep the dial dark and the rest of the composition quite light. A bit of trial and error in terms of compositions in the house really helped. How do you manage light and shadow in your lume shots?
Gigi – It really depends on what I’m trying to achieve in terms of exposure. I use controlled studio lighting for my shots so I can decide exactly how much light reaches the dial, if any. Some shots I take in near-complete darkness so it’s only the lume that lights up the dial (and it makes for an interesting shot!). In other shots, I use a little light (mostly very soft sidelights) to bring up more of the case features and the dial. In any scenario though there must be very little light on the dial, too much illumination will wash out all the lume.

Chris – For a couple of years I used the techniques I’ve described and my phone to take pretty decent lume shots, but over time my interest in photography developed and I became interested in how I could take better photos. Initially, I was just using an old compact system camera in intelligent auto mode and I was certainly getting more natural photos but sometimes it was difficult for me to take the exact photo I wanted to, I felt like I was fighting against the “intelligence” of the camera. I read a couple, okay several guides to camera settings and what they did and gradually started to play around with my setup. In terms of lume shots I started experimenting with the speed of the shot and the brightness/exposure. Too bright and the lume gets lost, too dark and there isn’t a lot of interest in the shot other than the lume.
Gigi – Auto modes will almost certainly kill your lume shot. Careful lighting, manual exposure, manual focus, and experimenting are all necessary. Photography is all about light, and full-automatic modes are only keyed for general photography in good lighting conditions or specific conditions as set up by the manufacturer. In the scope of lume photography, it is you who must decide the settings, not the camera.

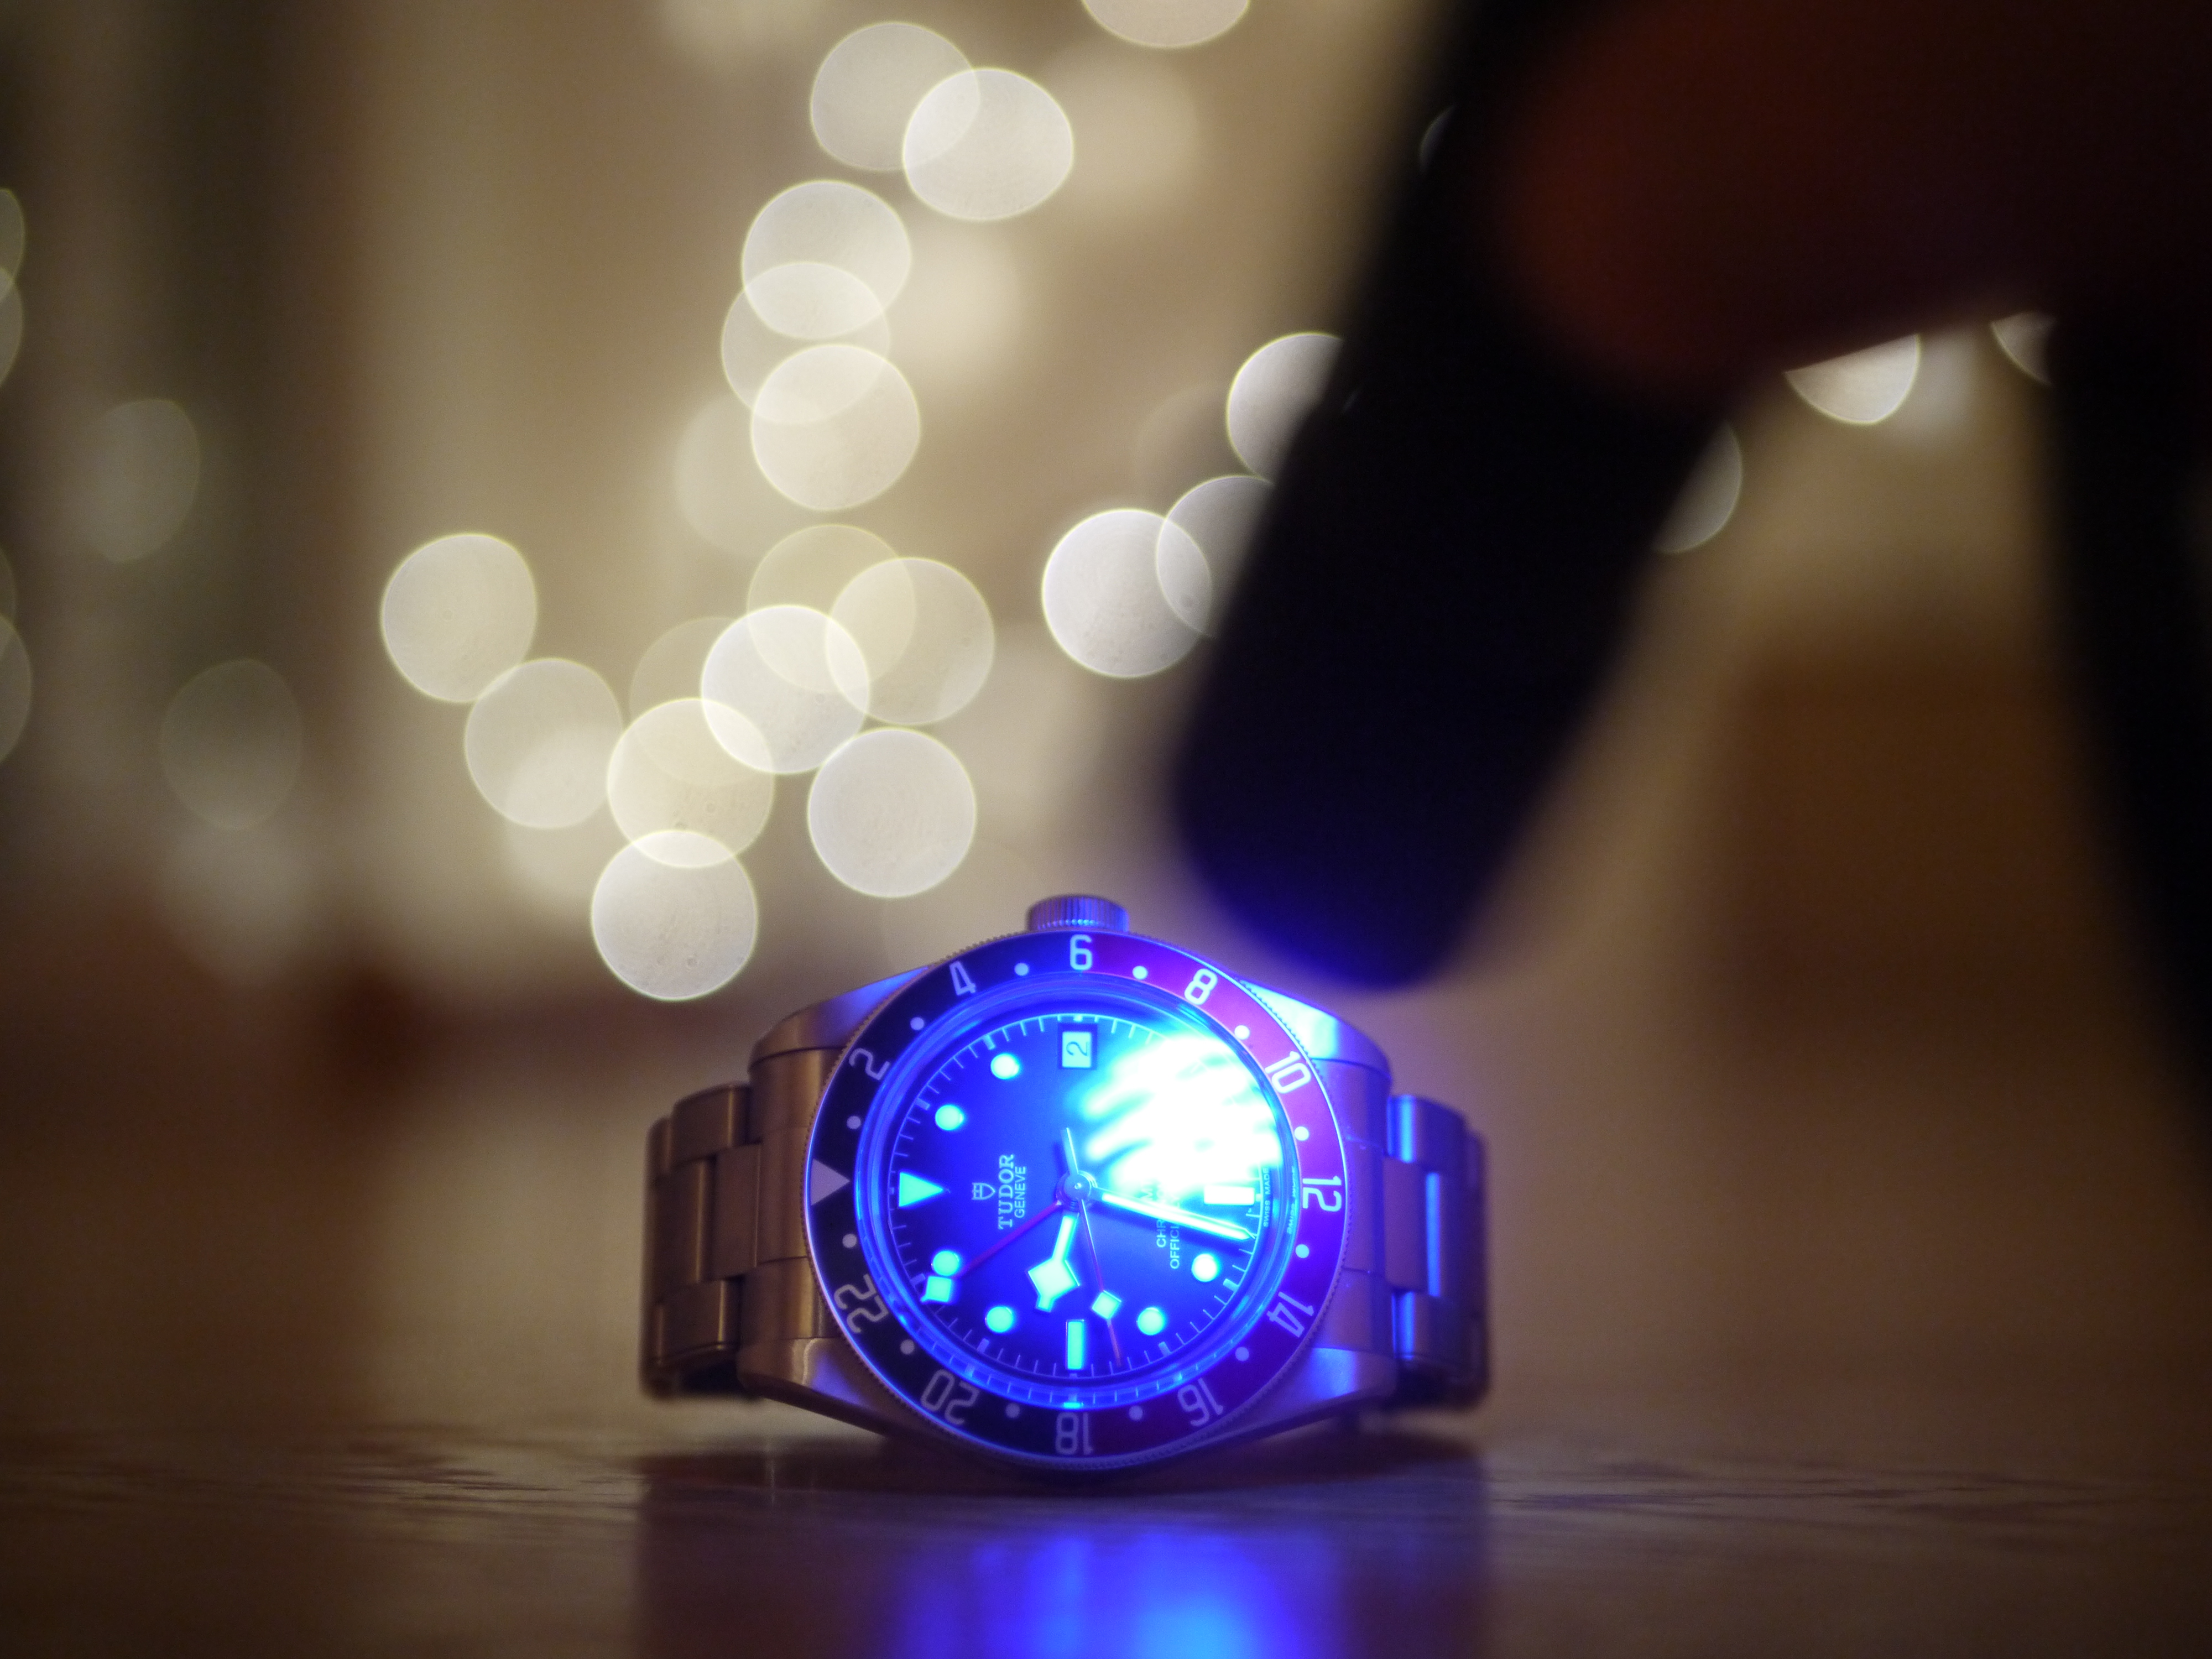
Chris – Ultimately I have settled on a couple of different setups when taking lume shots with a camera, with both setups I will almost certainly be using a UV torch in order to give the lume a boost. One setup is a combination quick shot using an f/1.7 lens, placing the camera on a table or using a tripod and a two-second delay between pressing the button and the shutter operating. The delay helps to eliminate blur caused by hand-shake and the quick lens creates a nice bokeh effect.
(Editors Note: Yup I had to google “bokeh” also and was most concerned Rikki had infiltrated this article and that I was going to be diverted to urban dictionary, phew)
There are a couple of places in our house where we have fairy lights, setting up my composition more than two meters from them helps to create a large light ball bokeh effect. The second method I use is to utilise a macro lens with built-in optical stabilisation, manual focus and the same stable surface and delay trick. I find that this is really good for taking close up detail shots that might focus on a single hand or lume plot. What are your tried and tested setups?

Gigi – My lume shots are more focused on the watch than its surroundings so I usually use a black or medium grey background. I almost exclusively shoot with my macro lens for its incredible sharpness and close focus abilities so I can get as near as needed for the framing I have in mind. The camera is attached to a tripod vertically pointing down via a macro focus rig. I do not use full open aperture because the depth of field is just too low: only the hands or the case or the dial will be in focus. I use as low an iso as possible to get a clean grain free shot (usually iso 200 but sometimes iso 100 or even 64). Aperture is F8 and shutter speeds up to 30 seconds depending on the amount of ambient light I am putting into the shot. I also use a 2-second delay or a wireless remote shutter release. Because of the long exposure times, the watch is hacked to stop the second hand. The crown is put back into its original position in post-processing. I usually take 3 exposures: a no lume shot with the watch correctly lighted, a mid lume shot with medium to low lighting, and a low key lume shot with little to no lighting. The rig and watch are kept in the exact same position for each shot since I may use digital compositing techniques in post-processing to play with the dynamic range.

Chris – In terms of post-production editing, I try to keep it to a minimum. I will sometimes tweak the brightness, contrast, and shadows to make sure the lume pops and occasionally I will sharpen the image a little. I think if you mess with it too much people can tell. I guess as we wrap this article up it is worth reiteration that lume shots are fun, they can be a bit of a challenge but when the elements come together and you achieve a good lume shot it is really rewarding. I still use the iPhone methods from time to time if I’m out and about and feel inspired to take a lume shot but I also really enjoy using a camera and composing something a little bit special. Any final thoughts or tips Gigi?
Gigi – I post-process just enough to achieve the shot I had in mind trying as much as possible to make it look natural. Sometimes that entails a bit of effort as compositing of up to four shots with different exposures is necessary. I have yet to try High Dynamic Range shooting that may free me of some of that post-processing work. But leaving aside the methods and techniques, I agree, lume shooting is fun and can lead to some very interesting shots of a timepiece. Like in the world of Star Wars each watch has a “Dark Side” and a “Light Side”. Lume photography brings them both out!


